Dashboard Parameters
You can use dashboard parameters when it is necessary to pass data of a certain type to a dashboard (e.g., to pass a specific value to the data source filter string or a calculated field).
Creating Parameters
To create a dashboard parameter in the Web Dashboard, perform the following steps.
- Invoke the Dashboard Menu and select Parameters.
-
In the Parameter List, click the Add New Parameter button. The following settings will be displayed for the created parameter.
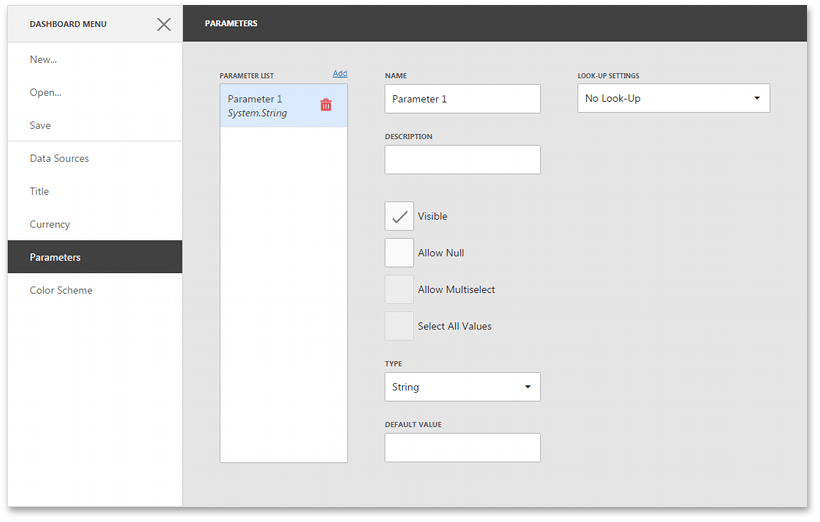
- Specify the following parameter’s settings.
- Name - Specifies the parameter name.
-
Description - Specifies the parameter’s description.
The parameter’s description is the value displayed in the Parameter Name column of the Dashboard Parameters dialog.
- Visible - Specifies whether or not the parameter is visible in the Dashboard Parameters dialog.
- Allow Null - Specifies whether or a not null value can be passed as a parameter value.
- Allow Multiselect - Specifies whether or not multi-selection is enabled for the current parameter.
- Select All Values - Specifies whether or not all parameter values should be selected in the initial state. Note that this option is in effect when Allow Multiselect is set to true.
- Type - Specifies the parameter type.
- Default Value - Specifies the default parameter’s value.
- Look-Up Settings - Specifies the parameter’s look-up editor settings. To learn more, see the next step.
- Depending on the selected Look-up Settings option, you need to specify the following settings.
- No Look-Up - Allows you to specify the required parameter value manually in the Dashboard Parameters dialog.
- Static List - Allows you to select a parameter value defined in a static list. To add predefined parameter values, use the + button.
- Dynamic List - Allows you to select a parameter value defined in a data source. To provide access to data source values, specify the following options.
- First, select the required Data Source from the list of available data sources. For the SQL data source, select the required Data Member that specifies the query/data member from the selected Data Source.
- Then, specify data members for the dashboard parameter’s value and display name using Value Member and Display Member, respectively.
- If necessary, specify the data member used to sort parameter values using the Sort By option. The Sort Order specifies the required sort order.
Passing Parameter Values
In this topic, it describes how to pass the created dashboard parameter to the dashboard.
The created dashboard parameter can be used in the following scenarios:
Filtering
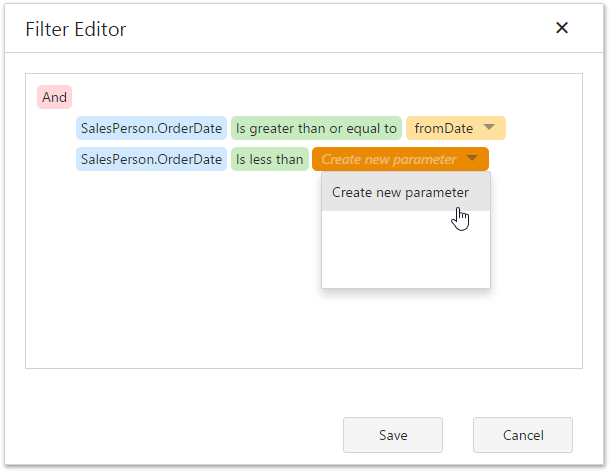
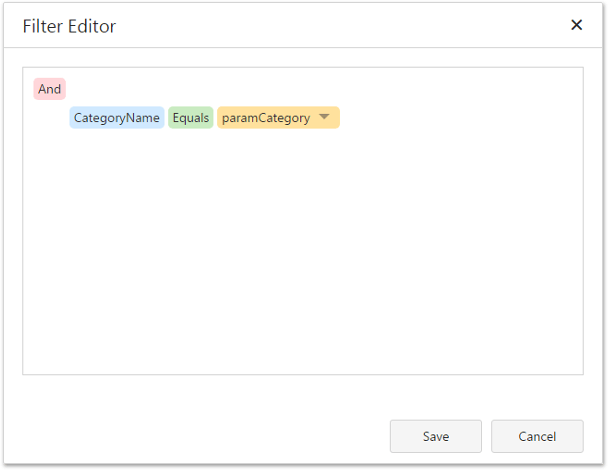
You can apply filtering to a specific dashboard item according to the current parameter value(s) using the Filter Editor.
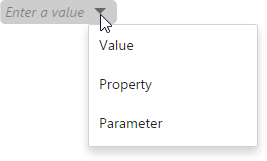
In the Filter Editor, you can compare a field value with different objects such as static values, values of another field or parameter values. To switch between values, click a down arrow glyph in the operand value placeholder to expand the list of available objects. Select the Parameter object to compare a field value with a parameter value.
Then, click the operand value to invoke the list of available parameters and select the existing parameter or create a new one.
Conditional Formatting
You can apply conditional formatting to a specific dashboard item according to the current parameter value when creating the Expression format condition. Use this capability to format dashboard item elements dynamically, depending on the current parameter value.
To switch between values, click the down arrow glyph in the operand value placeholder to expand the list of available objects and select the Parameter object to create a format rule with a parameter.
Window Calculations
You can use parameters when customizing expressions for window calculations. This allows you to apply a calculation dynamically, depending on the current parameter value.
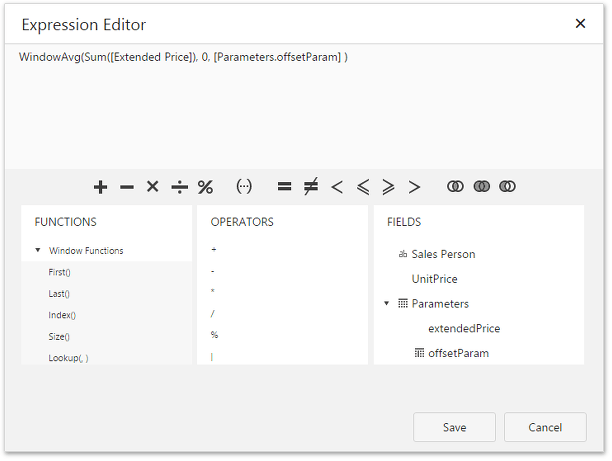
To create the calculation with a parameter, select the Custom calculation and click Edit. In the invoked Expression Editor double-click the required parameter.
Requesting Parameter Values
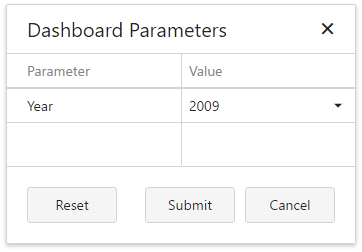
The Web Dashboard provides a built-in Dashboard Parameters dialog, which provides the capability to change dashboard parameter values. This dialog is created automatically, depending on the parameter type and visibility settings.
To invoke the Dashboard Parameters dialog in the Web Dashboard, click the Parameters button (the  icon) in the dashboard title.
Select the required parameter values in the Dashboard Parameters dialog and click the Submit button to apply the changes. To restore the default values, click the Reset button.