The Advanced Report Properties button in step 5 of the report wizards displays the Advanced Report Properties dialog so you can change some advanced settings.
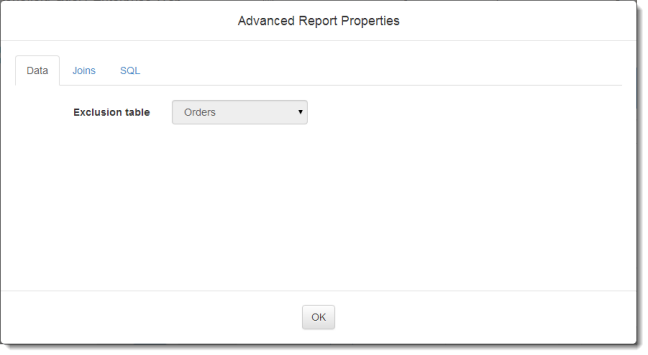
The Data page only has one setting: Exclusion table. This setting is only enabled if you have more than one table in the report and there are one or more exclusion filter conditions. This allows you to choose which table is used for the exclusion matching.
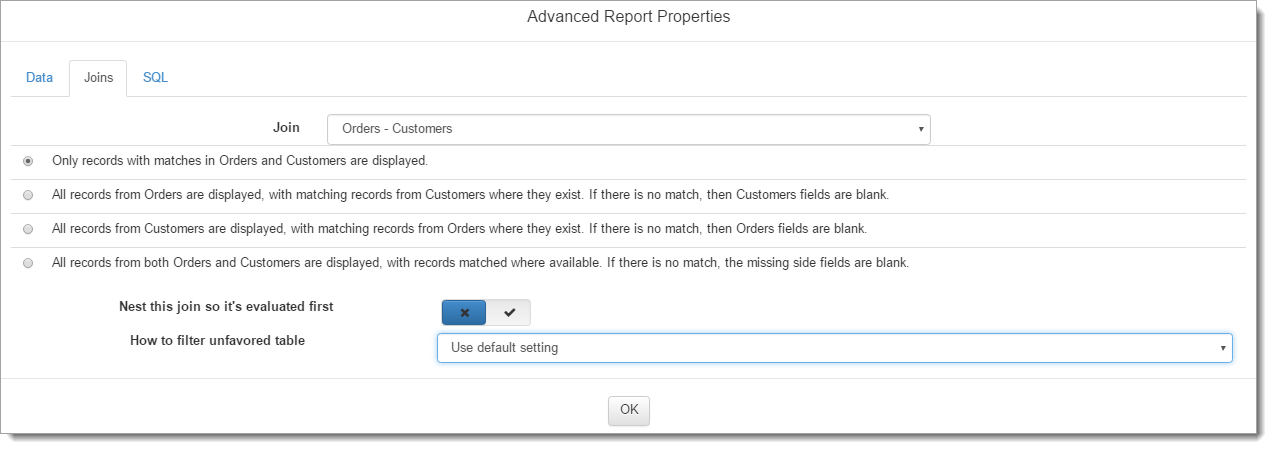
The Joins page allows you to change the relationship between tables. This step is only available if the report includes fields from more than one table. Select a pair of tables from the drop-down list and then select how they’re related to each other. The types of relationships you can specify are (in these relationships, Table1 and Table2 refers to the two tables):
-
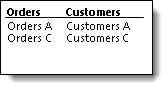
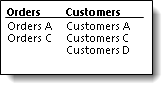
Only records with matches in Table2 and Table2 are displayed. For example, if Table1 has records A, B, and C and Table2 has records A, C, and D, the report only includes records A and C. In the SQL language, this is called an “inner join.”
-
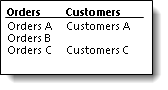
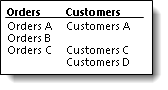
All records from Table1 are displayed, with matching records from Table2 where they exist. If there is no match, then Table2 fields are blank. For example, if Table1 has records A, B, and C and Table2 has records A, C, and D, the report includes records A, B, and C but shows blanks for fields from Table2 for record B since there is no record B in Table2. In the SQL language, this is called a “left outer join” (“left” because Table1 is to the left of Table2 in the SQL statement).
-
All records from Table2 are displayed, with matching records from Table1 where they exist. If there is no match, then Table1 fields are blank. For example, if Table1 has records A, B, and C and Table2 has records A, C, and D, the report includes records A, C, and D but shows blanks for fields from Table1 for record D since there is no record D in Table1. In the SQL language, this is called a “right outer join” (“right” because Table2 is to the right of Table1 in the SQL statement).
-
All records from both Table1 and Table2 are displayed, with records matched where available. If there is no match, the missing side fields are blank. For example, if Table1 has records A, B, and C and Table2 has records A, C, and D, the report includes records A, B, C, and D but shows blanks for fields from Table1 for record D since there is no record D in Table1 and blanks for fields from Table2 for record B since there is no record B in Table2. In the SQL language, this is called a “full join.”
The Nest this join so it’s evaluated first setting allows you to target a specific join to be evalulated first. When this setting is turned on, the resulting SQL Statement will be generated with this join inside a set of parentheses. Most database engines use this syntax to indicate that the join inside the parentheses must be evalulated first. The order that joins are evaluated in normally does not matter, but in certain circumstances with multiple outer joins and filter conditions, you may need to specify precedence to get the desired results.
The How to filter on unfavored table setting allows you finer control over how joins are created when there’s an outer join between tables. In SQL, when you specify an outer join between tables, you’re indicating that you want all records from the favored table whether there are matches in the unfavored table or not. If you add a filter condition on the unfavored table, SQL treats it like an inner join: now you only get records from the favored table that have matches in the unfavored table. Because that behavior is unexpected, by default Horizon Reports moves the filter condition to the JOIN clause so the unfavored table is filtered but unmatched records in the favored table are still included. However, there are times when you may not want that behavior; you may want unmatched records eliminated even though it’s an outer join. So, you have a choice about what to do with a filter conditions on the unfavored table:
The choices for this setting are:
-
Use default setting: use the behavior defined by the person who set up Horizon Reports.
-
Include filter conditions in where clause: keep the filter condition in the WHERE clause for the SQL statement, so it acts like an inner join.
-
Include filter conditions in join: move the filter condition to the JOIN clause for the SQL statement, so it acts like an outer join.
-
Nest join and filters in a subquery: this is for more complicated cases. In this case, a subquery is used for the entire join and filter conditions.
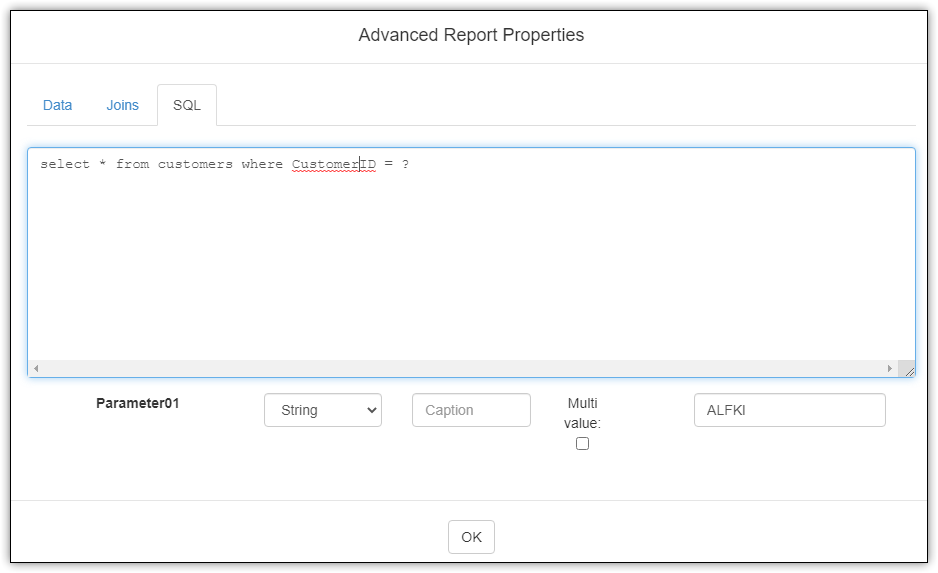
The SQL page allows you to customize the SQL statement for the report. SQL, which is an abbreviation for Structured Query Language, is used to retrieve data from the database engine. The SQL statement for the report is the specific statement used for this report’s data. You can add additional fields to the SQL statement (although they won’t appear in the report because they aren’t automatically added to the report layout), add a subquery, or add other clauses. Although you can also edit the relationships between tables in this page, it’s better to use the Joins page to do so. Don’t remove any fields or change field names or you will get an error message when Horizon Reports tries to output the fields it expects to find in the data set to the report layout.
You can enter a formatted SQL statement; for example, carriage returns and tabs are permitted. This makes it easier to take a SQL statement from another application and paste it into a report’s SQL statement.
If you want to reset the SQL statement back to its default after you’ve changed it, click the Reset button.
If the SQL statement entered here has any conditions in the where clause, and you’d like to be prompted for the value of these conditions when running the report, replace the value in the SQL statement with a ? character to act as a placeholder. The report itself must contain a filter condition that corresponds to each condition in the where clause that has a ? placeholder instead of a value.
Each ? placeholder character in the SQL Statement will cause a new row of options to appear below the SQL Statement. If this report was created as a SQL Passthrough report, the settings for each parameter will already be filled in. Otherwise, you can enter the value type, caption, and the value of the parameter here.